 Castlevania Guide Database
Walkthrough 12: Observation Tower
The Observation Tower is at the very top of the castle, where the boss Hugh guards the Last Key that opens the Ceremonial Room. Most high-level enemies such as Devil and Dark Armor are concentrated here, so collect the max-up items you can and get your equipment ready before coming.
Goals
- Defeat Hugh
Special items
| Name | Effect | How to obtain |
|---|---|---|
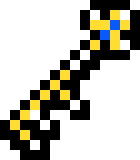 Last Keyラストキー Last Keyラストキー | Opens the door to the Ceremonial Room. | Observation Tower |
Key Points
- Siren drops the Griffin card. There’s one right before the save point, making it easy to farm.
- Dullahan drops the Thunderbird card; farm it here if you don’t have it yet.
- Enemies here are strong, but by this point you should have many powerful cards, so handling them with various DSS combos shouldn’t be a problem.
- Watch out: touching Legion curses you, and getting hit by the petrifying shots Evil Pillar spits petrifies you.
- The boss room is far from the save point, so it’s faster to warp elsewhere to save. On the way there’s a strong enemy, Devil, which you can avoid instead of fighting.
- After getting the Last Key, you can enter the Ceremonial Room for the final boss, but before that you can take on the Battle Arena. Warp straight there if you already have its warp point, or walk there from the Chapel Tower.
Enemies
| No. | Name | HP | ATK | DEF | EXP | Element | Drops |
|---|---|---|---|---|---|---|---|
| 10 | 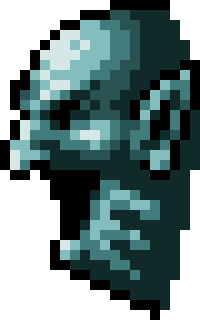 Evil Pillarイビルピラー Evil Pillarイビルピラー | 20 | 460 | 800 | 480 | Stone | Steel Armor 2%, Toy Ring 0.25% |
| 35 | 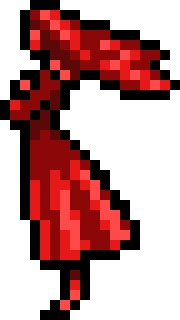 Heat Shadeヒートシェイド Heat Shadeヒートシェイド | 80 | 240 | 200 | 136 | Fire | Stylish Suit 2.5%, DSSJupiter 2.2% |
| 50 | 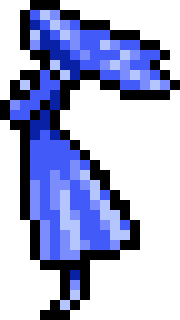 Frozen Shadeフローズンシェイド Frozen Shadeフローズンシェイド | 112 | 490 | 560 | 1212 | Ice | Magic Gauntlet 3%, Star Bracelet 1% |
| 63 | 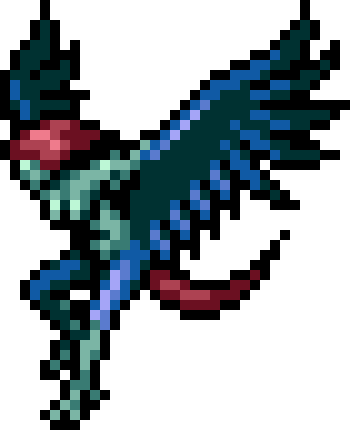 Sirenセイレーン Sirenセイレーン | 160 | 443 | 300 | 880 | Wind | DSSGriffin 2%, Mind High 0.5% |
| 71 | 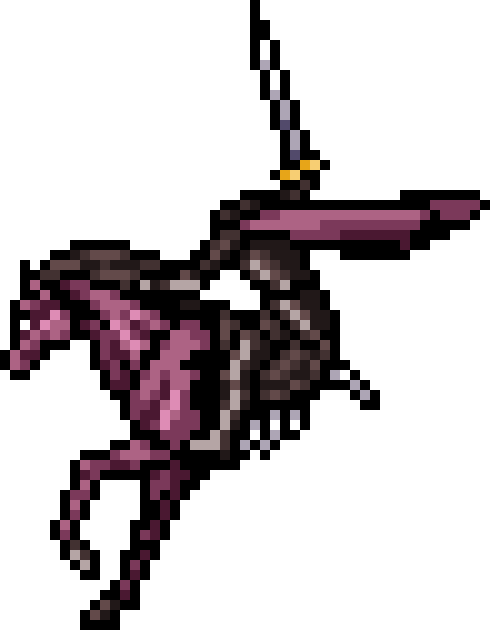 Dullahanデュラハン Dullahanデュラハン | 240 | 550 | 440 | 2200 | Dark | Platinum Armor 2%, DSSThunderbird 1.4% |
| 81 | 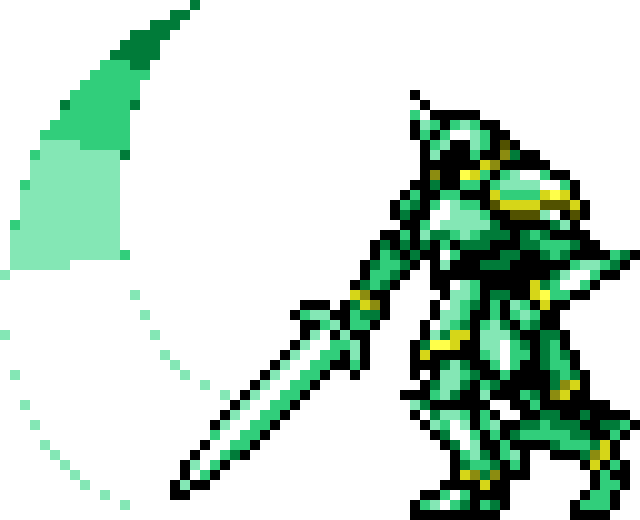 Wind Armorウインドアーマー Wind Armorウインドアーマー | 320 | 500 | 460 | 1800 | Wind | Potion 2%, Potion High 0.4% |
| 87 | 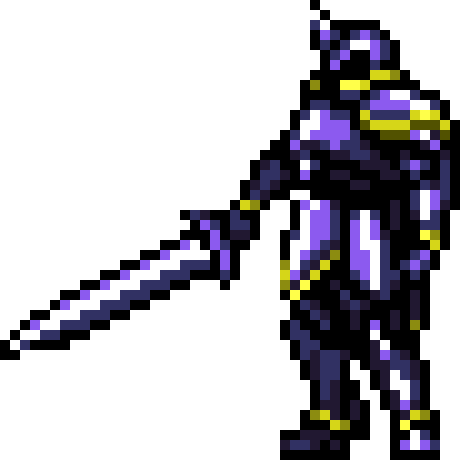 Dark Armorダークアーマー Dark Armorダークアーマー | 400 | 680 | 560 | 3300 | Dark | Platinum Armor 2%, Double Grips 1% |
| 92 | 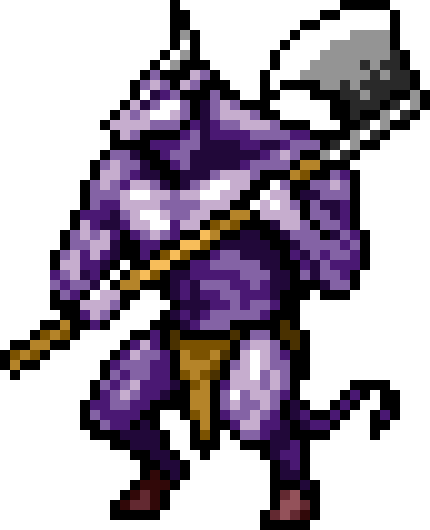 Minotaurミノタウロス Minotaurミノタウロス | 410 | 520 | 640 | 2000 | Earth | DSSGolem 1.5%, Spiced Meat 0.75% |
| 93 | 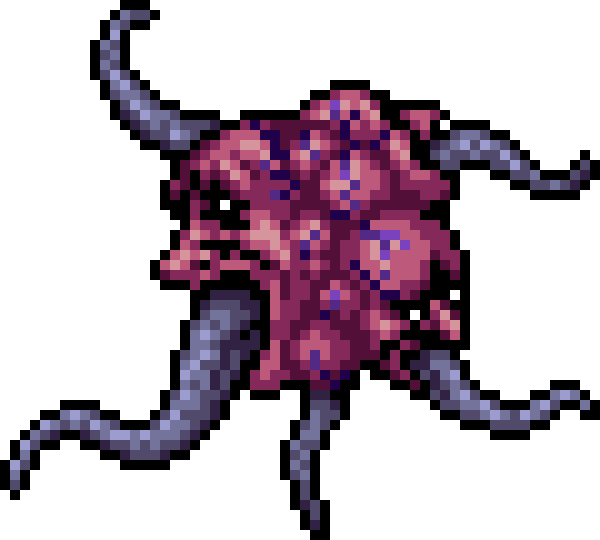 Legionレギオン Legionレギオン | 420 | 610 | 375 | 1590 | Dark | Cure Curse 5%, Potion High 0.5% |
| 94 | 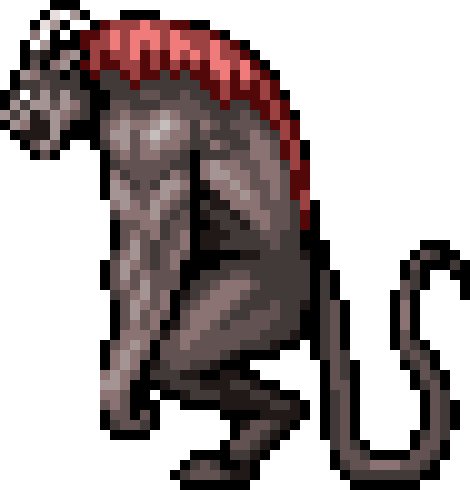 Demon Lordデーモンロード Demon Lordデーモンロード | 460 | 660 | 500 | 1950 | Dark | Potion 2%, Strength Armband 1% |
| 97 | 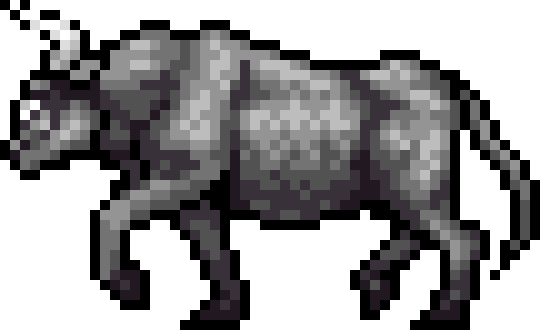 Catoblepasカトブレパス Catoblepasカトブレパス | 550 | 500 | 430 | 1800 | Stone | Heart High 2%, Soldier Fatigues 0.5% |
| 102 | 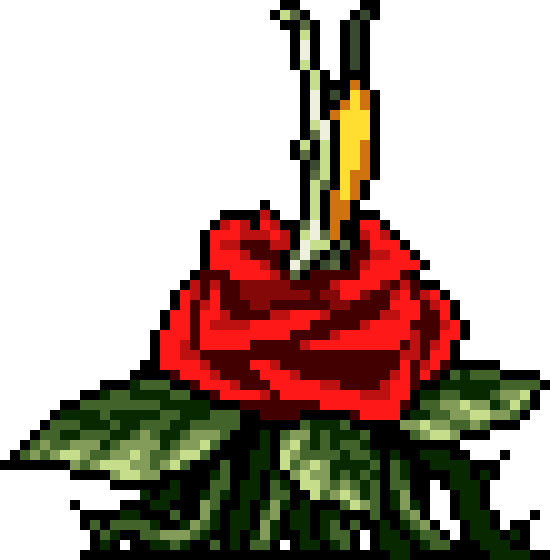 Alrauneアルラウネ Alrauneアルラウネ | 774 | 490 | 303 | 2500 | Plant | Magic Robe 1%, Potion Ex 0.5% |
| 103 | 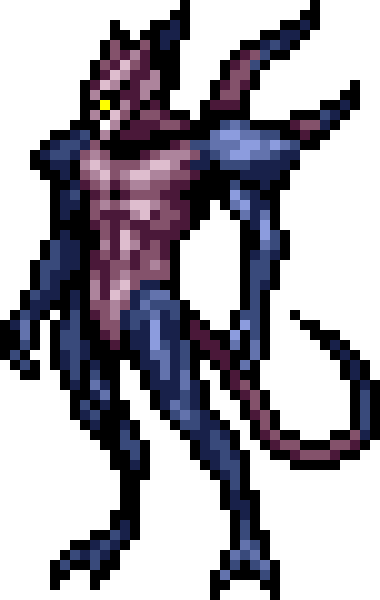 Devilデビル Devilデビル | 1080 | 800 | 900 | 10000 | Dark | Potion High 2%, Mirror Armor 1.5% |
DSS Cards
| Card | Dropped by |
|---|---|
 Jupiter Jupiter | Heat Shade 2.2% |
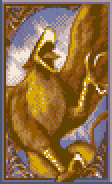 Griffin Griffin | Siren 2% |
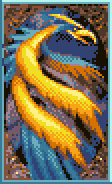 Thunderbird Thunderbird | Dullahan 1.4% |
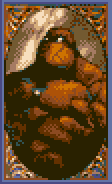 Golem Golem | Minotaur 1.5% |
Max-ups
| Item | Qty | Location | |
|---|---|---|---|
 HP Max HP Max | 3 | Room 116, Room 125, Room 171 | |
 Hearts Max Hearts Max | 4 | Room 144, Room 115, Room 114, Room 95 | |
 MP Max MP Max | 2 | Room 123, Room 96 |
Boss: Hugh Baldwin
ヒュー
“Nathan's rival and the son of Morris, Master Vampire Hunter. He is bitter that Nathan, who he believes is the weaker of the two, was chosen as his father's successor.”
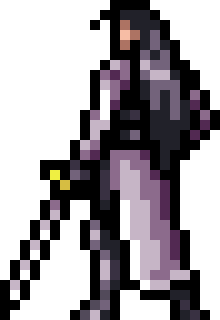
- No.
- 112
- HP
- 1400
- EXP
- 120000
- ATK
- 570
- DEF
- 750
- One-hit STR
- 3241
- Element
- Holy
- Clock (normal use)
- No effect
- Clock (Item Crush)
- Slow
- Freeze
- No effect
- Petrify
- No effect
- Quake
- Works
Attacks
| Attack | Power | Element | Status ailment |
|---|---|---|---|
| Contact | 570 | Holy | — |
| Sword The only attack it uses when you're right next to it (within about one Nathan-width): it raises the sword for about 0.3 s, then swings forward. Just jump to avoid it. | 570 | Holy | — |
| Flame Sword Big attack when you're within 1/8 of the screen width: a fire pillar taller than a jump rises in front of and behind it for about 0.5 s. Get away from it or double jump to dodge when it's used. | 900 | Fire | — |
| Greatsword Big attack at about 1/8–1/4 of the screen width: it raises the greatsword overhead, then slams it forward into the ground, covering about 2/5 of the screen width. Get nearly half a screen away or more to dodge it. | 720 | Holy | — |
| Thrust Big attack at about 1/4 of the screen width or more: it charges for about half a second, then thrusts forward with the sword, rushing about one screen width. Jump to avoid it; the farther away you are, the easier it is. Crouching doesn't help. | 690 | Holy | — |
| Axe Thrown whenever you're above it beyond a certain height, regardless of distance. When it's about to use a sub-weapon and is nearby, be careful about jumping. The second form throws two at a time. | 600 | — | — |
| Holy Water Thrown when you're within 1/4 of the screen width; it lands a short way in front of it, and the fire on the ground burns for about 6 s. The second form throws two bottles at a time. | 500 | — | — |
| Crucifix Thrown at about 1/4–2/5 of the screen width; it flies about 2/5 of the screen width and returns. Crouch to avoid it. The second form throws two at a time, one forward and one backward. | 700 | — | — |
| Knife Thrown at about 2/5 of the screen width or more. Crouch to avoid it. The second form throws two at a time, one flat and one angled upward. | 400 | — | — |
| Homing Swords Used only by the second form, replacing every other big attack. 6 swords line up in a semicircle above its head, home in on Nathan for about 4 s, circle wide and fly off. Can be destroyed; a sword that hits you flies back and restores 8 HP to Hugh. | 600 | Holy | — |
- For damage, the rules for kills while frozen or petrified, and how drop rates work, see Game Systems
Forms
| Forms | HP | EXP | Notes |
|---|---|---|---|
| First Form | 1400 | — | — |
| Second Form | 1400 | — | Transforms in place once the first form's HP is depleted, with HP fully restored; the transformation takes about 8 s, during most of which it can't be hit |
Strategy
- Hugh involves no luck at all: after every 2 s of movement it always cycles "sub-weapon, sub-weapon, big attack", and which attack it uses depends only on how far you are from it.
- The second form effectively cycles "sub-weapon, sub-weapon, Homing Swords, sub-weapon, sub-weapon, big attack", and also has the doubled sub-weapon ability.
- If you happen to be jumping above a certain height when a sub-weapon turn comes up, it throws the axe instead.
- The sword swing takes priority over the rules above and resets the 2 s timer, so the best approach is to stay right next to it. Jump when it raises its sword and whip as you come down; keep that rhythm and it's an easy win. But it steps forward a little with each swing, so back off when needed.
- It can't reach the high platforms at the edges of the room, so you can go up there to heal; but the second form's Homing Swords can reach you there.
- For DSS, use something that boosts normal attack damage, such as Tonfers. Most of its attacks are holy element, so you can also absorb them with Holy Healing.