 Castlevania Guide Database
Walkthrough 3: Audience Room
Audience Room is the largest area in the castle, and much of it is out of reach at first. Many areas connect through here, and you will pass through it often after defeating Necromancer.
Goals
- Defeat Necromancer
Special items
| Name | Effect | How to obtain |
|---|---|---|
 Tackleタックル Tackleタックル | Press sideways + the special-move button to tackle; breaks certain stone blocks. | Audience Room |
Key Points
- Coming up from Abyss Stairway, the first path to the right is blocked for now; go left and loop around in a C shape through Outer Wall. The areas to the left and above are also out of reach for now.
- You can open the Outer Wall walkthrough to refer to as you pass through the Outer Wall.
- It is worth detouring to the entrance of Triumph Hallway to get the Crucifix, the best sub-weapon against Necromancer and most bosses after him.
- Electric Skeleton drops Golem. Other enemies drop it too, but Electric Skeleton is easier to fight; you can also come back to farm it at a higher level.
- After defeating Necromancer, head left to Machine Tower (see the Machine Tower walkthrough).
Enemies
| No. | Name | HP | ATK | DEF | EXP | Element | Drops |
|---|---|---|---|---|---|---|---|
| 5 | 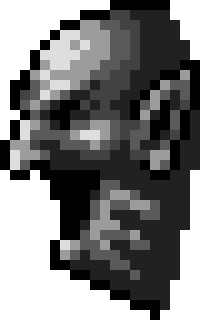 Devil Towerデビルタワー Devil Towerデビルタワー | 10 | 140 | 200 | 17 | Stone | Wrist Band 4%, Potion 1.25% |
| 6 |  Will O'Wispウィルオウィスプ Will O'Wispウィルオウィスプ | 11 | 110 | 16 | 9 | Fire | Wrist Band 2.5%, Mind Restore 0.5% |
| 14 | 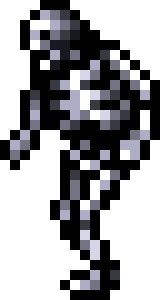 Skeletonスケルトン Skeletonスケルトン | 25 | 65 | 45 | 4 | Dark | Leather Armor 2.5%, Potion 1% |
| 18 | 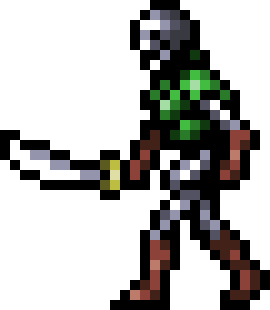 Skeleton Soldierスケルトンソルジャー Skeleton Soldierスケルトンソルジャー | 35 | 90 | 60 | 16 | Dark | Leather Armor 3%, Bronze Armor 1% |
| 20 |  Slimeスライム Slimeスライム | 40 | 102 | 18 | 11 | Poison | Antidote 4%, DSSVenus 2.5% |
| 22 | 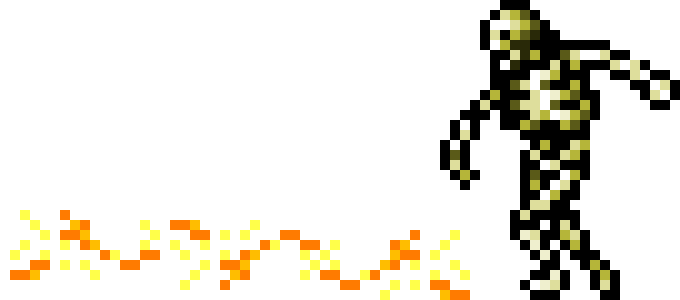 Electric Skeletonスケルトンエレキ Electric Skeletonスケルトンエレキ | 42 | 80 | 50 | 30 | Thunder | Leather Armor 3%, DSSGolem 1% |
| 27 | 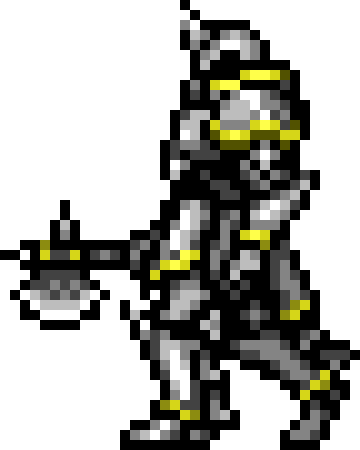 Axe Armorアックスアーマー Axe Armorアックスアーマー | 55 | 120 | 130 | 31 | Dark | Leather Armor 4%, DSSMandragora 1.5% |
| 28 | 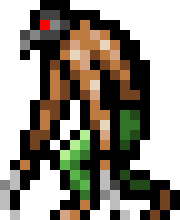 Fleamanフリーフリッカーマン Fleamanフリーフリッカーマン | 60 | 142 | 45 | 29 | Dark | Cotton Clothes 5%, Arm Guard 1.25% |
| 33 | 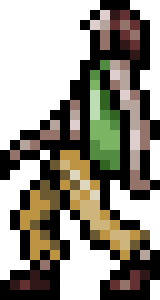 Clinking Manクリンギングマン Clinking Manクリンギングマン | 80 | 135 | 25 | 21 | Dark | Prison Garb 4%, Miracle Armband 1% |
DSS Cards
| Card | Dropped by |
|---|---|
 Venus Venus | Slime 2.5% |
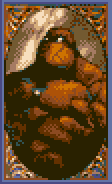 Golem Golem | Electric Skeleton 1% |
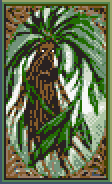 Mandragora Mandragora | Axe Armor 1.5% |
Max-ups
| Item | Qty | Location | |
|---|---|---|---|
 Hearts Max Hearts Max | 3 | Room 85, Room 190, Room 53 | |
 HP Max HP Max | 2 | Room 109, Room 165 | |
 MP Max MP Max | 4 | Room 173, Room 150, Room 182, Room 75 |
Boss: Necromancer
ネクロマンサー
“This high demon can use the dead like puppets for his goals.”
- No.
- 106
- HP
- 500
- EXP
- 2500
- ATK
- 200
- DEF
- 250
- One-hit STR
- 1119
- Element
- Dark
- Clock (normal use)
- No effect
- Clock (Item Crush)
- Slow
- Freeze
- No effect
- Petrify
- No effect
- Quake
- No effect
Attacks
First Form
| Attack | Power | Element | Status ailment |
|---|---|---|---|
| Contact | 200 | Dark | — |
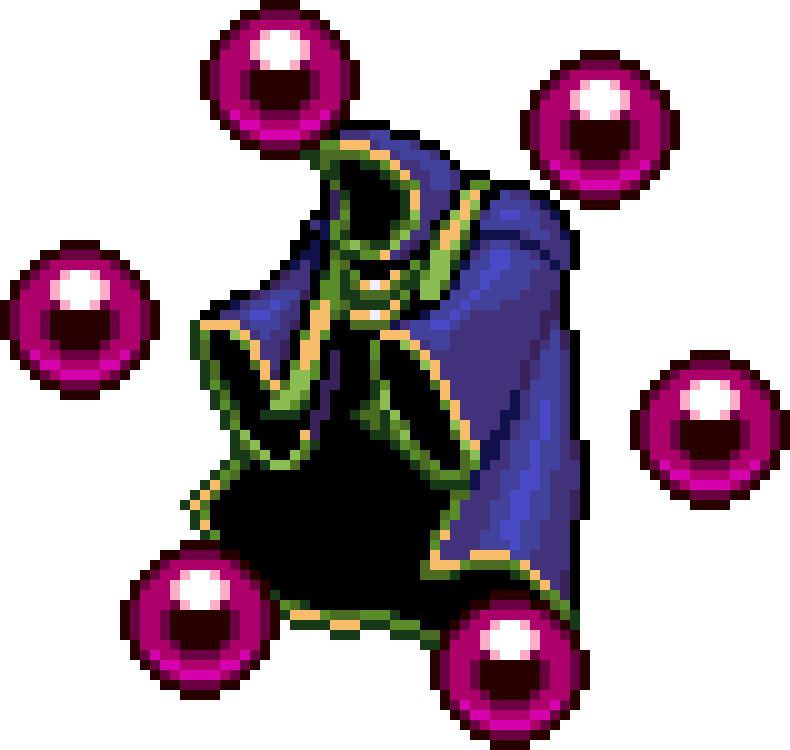
| Rings Only deals damage about 2 s after appearing. Fires 6 rings on irregular paths; they cannot be destroyed and are hard to dodge. You can run around it on the platform to avoid them, but it flies higher and higher until that no longer works. | 180 | Dark | — |
| Summon Zombies Summons 4 on the ground, only when there are 5 or fewer enemies on screen. The zombies disappear on their own after a while. Summoning is a good chance to attack. | — | — | — |
Second Form
| Attack | Power | Element | Status ailment |
|---|---|---|---|
| Contact | 200 | Dark | — |
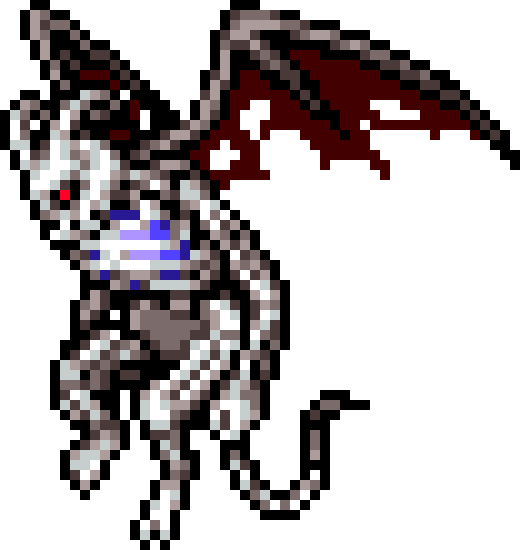
| Body Slam Turns into a ball of light and rams back and forth; jump when it gets close to dodge. | 200 | Dark | — |
| Summon Skeletons Summons 4 at a time, only when there are 5 or fewer enemies on screen. Summoning is a good chance to attack. | — | — | — |
- For damage, the rules for kills while frozen or petrified, and how drop rates work, see Game Systems
Forms
| Forms | HP | EXP | Notes |
|---|---|---|---|
| First Form | 500 | — | — |
| Second Form | — | — | Transforms after taking 250 or more damage (shares HP with the first form) |
Strategy
- Recommended sub-weapon: Crucifix, obtained with a detour near the Triumph Hallway entrance.
- For DSS, raise your attack with STR Boost (Venus + Salamander) or Whip of Thorns (Mercury + Mandragora).
- The first form always uses Rings twice, then summons once; if the summon is skipped, it goes straight to two more Rings. The rings are hard to dodge, so defeat it as fast as possible.
- As it descends at the start, one Crucifix hits it several times. When it flies up, jump on its left side and throw another, then immediately run right to dodge its attack, and jump and throw again from the same spot. Then wait on the left of the platform until it finishes its rings; when it stops to summon, it is at just the right height to hit from the platform.
- You can throw one more Crucifix the instant the transformation into the second form ends.
- In the second form, summoning is a good chance to attack. It stops summoning once there are more than 5 monsters on screen; to keep it summoning and leaving openings, go down and clear the monsters. With 5 or fewer, each attack has a 50% chance.
- When the ball of light rams back, standing in the middle of the platform makes it circle around longer, giving you more hits; standing at the edge makes it charge again immediately.
Coming Back Later
After defeating Necromancer (Tackle obtained)
New enemies
| No. | Name | HP | ATK | DEF | EXP | Element | Drops |
|---|---|---|---|---|---|---|---|
| 7 |  Ectoplasmエクトプラズム Ectoplasmエクトプラズム | 12 | 165 | 51 | 2 | Dark | Wrist Band 2%, Mind Restore 0.4% |
| 25 | 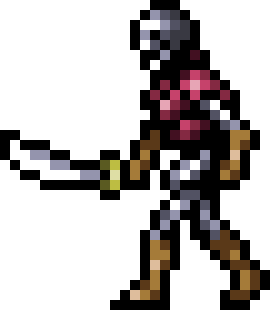 Skeleton Knightスケルトンナイト Skeleton Knightスケルトンナイト | 50 | 140 | 80 | 39 | Dark | Leather Armor 3%, Bronze Armor 1.25% |
| 35 |  Heat Shadeヒートシェイド Heat Shadeヒートシェイド | 80 | 240 | 200 | 136 | Fire | Stylish Suit 2.5%, DSSJupiter 2.2% |
| 54 | 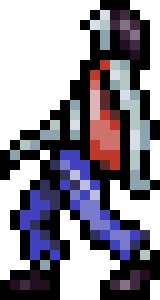 Zombie Thiefゾンビシーフ Zombie Thiefゾンビシーフ | 120 | 185 | 30 | 58 | Wind | Prison Garb 3%, Luck Ring 0.9% |
New DSS cards
| Card | Dropped by |
|---|---|
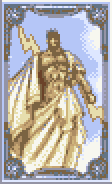 Jupiter Jupiter | Heat Shade 2.2% |
New max-ups
- Zombie Thief drops the Luck Ring; wear one on each hand and farming cards and equipment afterward gets much faster.
After defeating Iron Golem (Kick Boots obtained)
New enemies
| No. | Name | HP | ATK | DEF | EXP | Element | Drops |
|---|---|---|---|---|---|---|---|
| 29 | 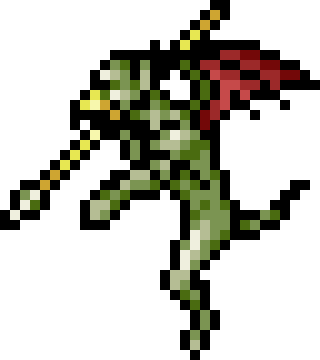 Gargoyleガーゴイル Gargoyleガーゴイル | 60 | 160 | 66 | 3 | Wind | Prison Garb 1.5%, Heart High 0.4% |
| 41 | 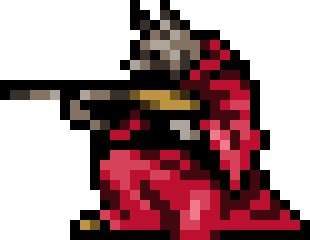 Hyenaハイエナ Hyenaハイエナ | 93 | 140 | 70 | 105 | Dark | Potion 1.5%, Night Suit 0.5% |
| 47 | 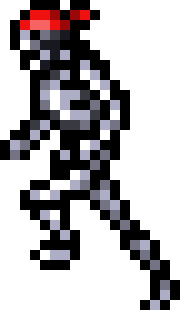 Skeleton Athleteスケルトンアスリート Skeleton Athleteスケルトンアスリート | 100 | 100 | 50 | 25 | Dark | Cotton Clothes 3%, DSSGriffin 0.75% |
| 64 | 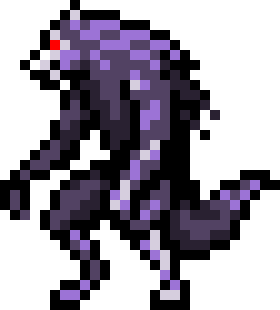 Were-wolfワーウルフ Were-wolfワーウルフ | 160 | 265 | 110 | 140 | Poison | Gauntlet 2%, Meat 1% |
New DSS cards
| Card | Dropped by |
|---|---|
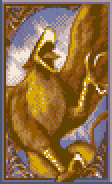 Griffin Griffin | Skeleton Athlete 0.75% |
New max-ups
| Item | Qty | Location | |
|---|---|---|---|
| Hearts Max | 1 | Room 190 | |
| HP Max | 1 | Room 220 |
After defeating Dragon Zombie (Heavy Ring obtained)
New enemies
| No. | Name | HP | ATK | DEF | EXP | Element | Drops |
|---|---|---|---|---|---|---|---|
| 39 | 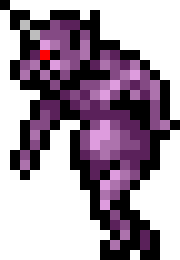 Impインプ Impインプ | 90 | 220 | 99 | 103 | Dark | DSSSalamander 20%, Spiced Meat 0.25% |
| 61 | 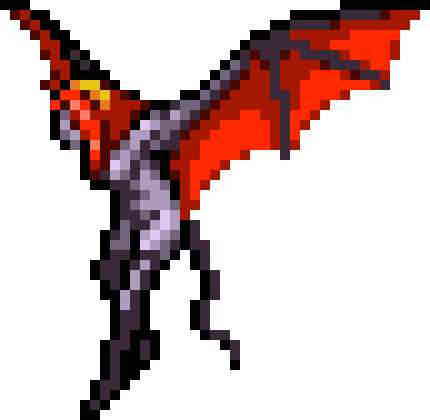 Succubusサキュバス Succubusサキュバス | 150 | 400 | 350 | 710 | Dark | Intelligence Ring 2.4%, DSSManticore 1.5% |
| 69 | 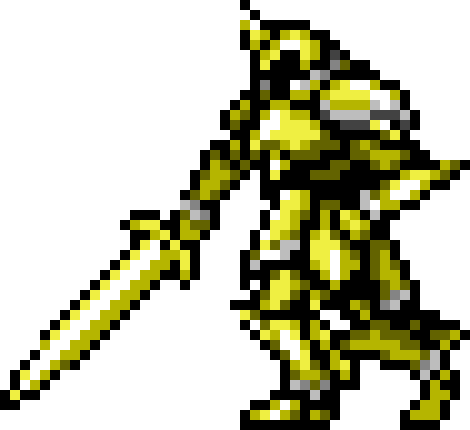 Thunder Armorサンダーアーマー Thunder Armorサンダーアーマー | 204 | 340 | 320 | 800 | Thunder | Gold Armor 2.5%, Steel Armor 0.75% |
| 75 | 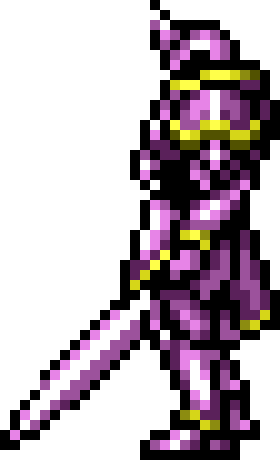 Poison Armorポイズンアーマー Poison Armorポイズンアーマー | 260 | 382 | 310 | 822 | Poison | Antidote 5%, Rainbow Robe 0.5% |
| 86 | 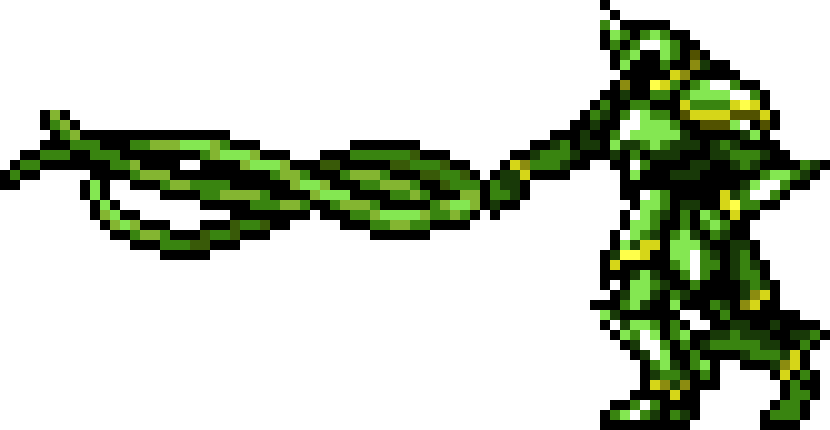 Forest Armorフォレストアーマー Forest Armorフォレストアーマー | 370 | 390 | 390 | 1280 | Plant | Chain Mail 1.8%, Rainbow Robe 0.45% |
New DSS cards
| Card | Dropped by |
|---|---|
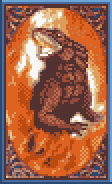 Salamander Salamander | Imp 20% |
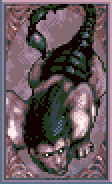 Manticore Manticore | Succubus 1.5% |
New max-ups
- In several rooms, the Skeleton, Skeleton Soldier, Electric Skeleton, Slime and Axe Armor are replaced by Imp, Forest Armor and Succubus. If you are only passing through on the way back from the Underground Gallery, just run past them.
After defeating Death (Cleansing obtained)
New enemies
| No. | Name | HP | ATK | DEF | EXP | Element | Drops |
|---|---|---|---|---|---|---|---|
| 101 | 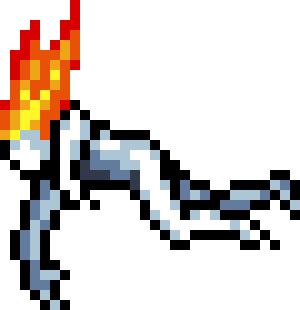 Mimic Candleミミックキャンドル Mimic Candleミミックキャンドル | 990 | 600 | 600 | 6600 | Poison | Heart 10%, Gambler Armband 2% |
- Mimic Candle drops the Gambler Armband, the equipment with the highest LCK bonus.
After defeating Camilla (Roc Wing obtained)
New enemies
| No. | Name | HP | ATK | DEF | EXP | Element | Drops |
|---|---|---|---|---|---|---|---|
| 50 |  Frozen Shadeフローズンシェイド Frozen Shadeフローズンシェイド | 112 | 490 | 560 | 1212 | Ice | Magic Gauntlet 3%, Star Bracelet 1% |
| 57 | 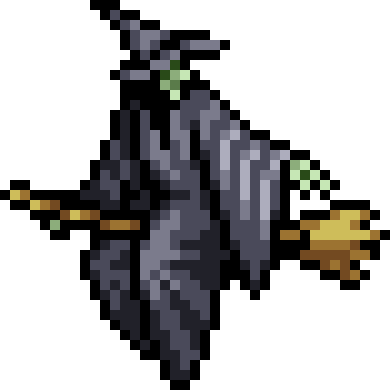 Witchウィッチ Witchウィッチ | 144 | 330 | 290 | 600 | Dark | Mind Restore 1.25%, Magic Robe 0.2% |
| 77 | 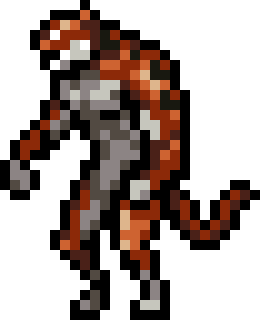 Were-jaguarワージャガー Were-jaguarワージャガー | 270 | 416 | 170 | 760 | Dark | Gold Armor 2.5%, Ninja Garb 0.4% |
| 90 | 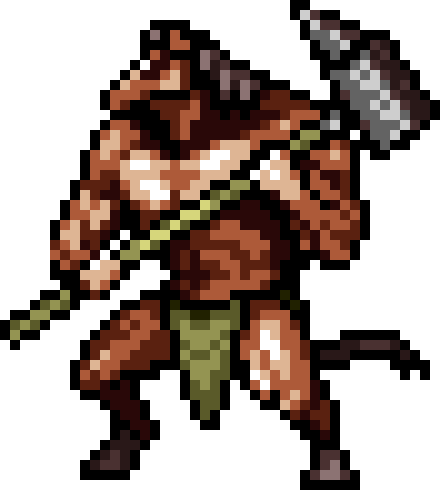 Were-horseワーホース Were-horseワーホース | 400 | 540 | 360 | 1970 | Earth | Meat 1.5%, Defense Armband 1% |
| 91 | 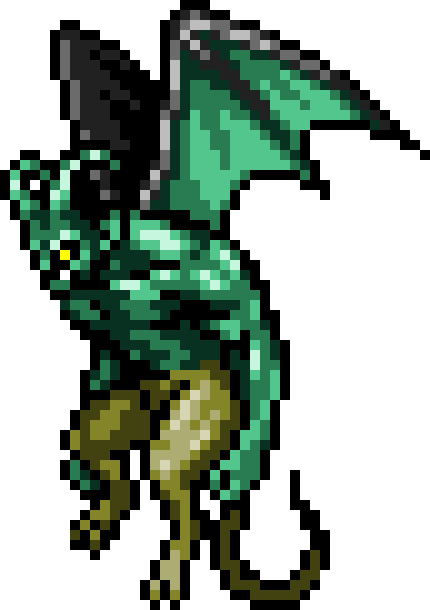 Wind Demonウインドデーモン Wind Demonウインドデーモン | 400 | 540 | 490 | 3600 | Wind | Mind High 2%, Sage Armband 1.2% |
New max-ups
- In one room, the Axe Armor and Skeleton Soldier are replaced by Wind Demon.